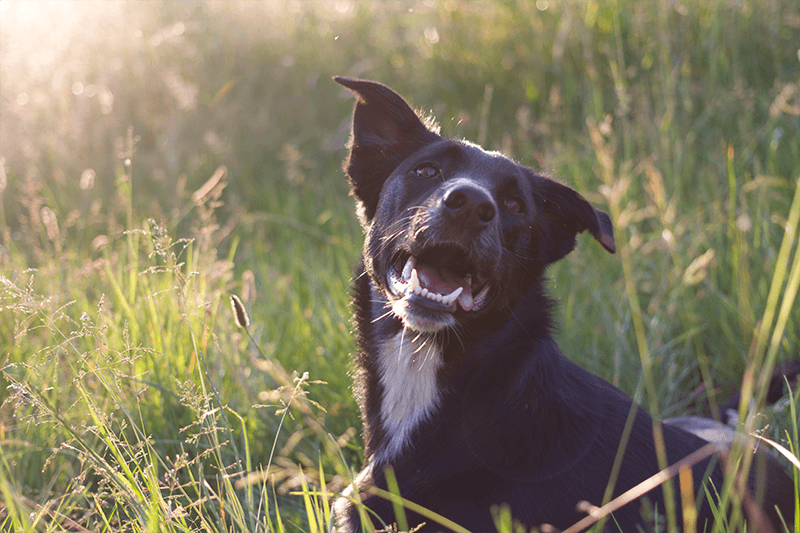
Alert and upright like a Great Dane’s, long and floppy like a Basset Hound’s, or folded in half like a Jack Russell’s; dog ears come in all shapes and sizes, but they all have one thing in common: they need regular cleaning.
What can you use to clean a dog’s ears?
Cleaning a dog’s ears at home requires the use of some dog-specific cleaning products. These will provide the best results for your furry friends. We suggest steering clear of products intended for humans, as well as harsh chemicals such as peroxide. Using natural home remedies can be ineffective so we advise that you use products that are tried, tested and backed by professionals.
Here’s how you can prevent dog ear problems:
Step one: Ensure you have all these dog ear cleaning essentials
Be sure to get all these things in place before calling your dog over to clean their ears:
- Ear wipes or cotton balls – don’t use cotton tips on dogs as they can damage the ear canal
- Gentle dog ear cleaning solution – choose a product specifically formulated to dissolve wax and debris, and remove odours from dogs’ ears
- Treats – have your pet’s favourite reward within arm’s reach, and
- Another pair of hands – your dog will probably find ear cleaning uncomfortable at first. You may need a second person to gently hold them in place and offer encouraging words while you work.


6Pack
Step two: Inspect your dog’s ears
It’s best to clean your dog’s ears when your dog is calm. Sit your dog in front of you for a quick ear inspection. If you see what looks like brown coffee grounds at the opening of your pet’s ear canal, it may mean your dog has mites. In this case, it’s best to abandon the cleaning process and visit your local Greencross Vets. Similarly, if you notice a bad odour, swelling, or signs of pain when you touch your dog’s ears, see the vet. This may be an indication of an ear infection or more serious affliction.

Step three: It’s time to clean your dog’s ears!
- Reassure your pet with a pat and some soothing words
- Pick up one of their ear flaps and dribble the recommended amount of cleaning solution into the ear canal. This may be an odd sensation for your dog, so they may express some discomfort during this part of the ear cleaning process
- Gently massage the area where the ear meets the head for about 20 seconds. You should hear a squelching sound as the solution moves around the ear canal and breaks up any build up. This is also an opportunity for you to give your dog a cuddle to reassure them while they’re having their ears cleaned
- Your pet will want to shake its head. Let them. This helps bring softened wax and debris out of the ear canal, and helps quicken the ear cleaning process
- With an ear wipe or cotton ball very gently clean the ear flap and the opening of your dog’s ear canal
- Repeat this process on the other ear
- Reward your pet with praise and a generous treat.
Step four: Regularly repeat this process to keep your dog’s ears clean
How often you need to clean your dog’s ears depends on its breed, coat, age and wax production. Twice a month should be fine for normal dogs because a certain amount of natural build up is good for ear health. Make sure to care around the eardrum. Dog ear canals are not straight like humans. Pets with floppy ears or those that swim often may need more frequent cleaning.
Things to remember when cleaning your dog’s ears at home:
- You should not use peroxide or other harsh chemicals to clean a dog’s ears
- Use appropriate dog ear cleaning products, avoid human products like cotton tips
- Consult an expert like the ones at Greencross Vets before cleaning the ears of a dog with mites, ear infections or other ear problems
- Inspect and clean your dog’s ears regularly, roughly twice-monthly.
On a cleaning frenzy? Find out how to brush your dog’s teeth here. You can also read more of our handy dog grooming articles here.
-
MEMBERS
SAVE
34 - 120.00
-

-
MEMBERS
SAVE
34 - 120.00
-
-
MEMBERS
SAVE
34 - 120.00
-
-
MEMBERS
SAVE
34 - 120.00
-
-
MEMBERS
SAVE
34 - 120.00
-
-
MEMBERS
SAVE
34 - 120.00
-
-
MEMBERS
SAVE
34 - 120.00
-